For a long time, Direct Drive was something you admired from a distance. The smooth, detailed force feedback that sim racers rave about came with a price tag that put it well out of reach for anyone just getting started, which left newcomers choosing between gear or belt-driven wheels from the usual big names.
Moza’s R3 bundle is a direct attempt to change that.
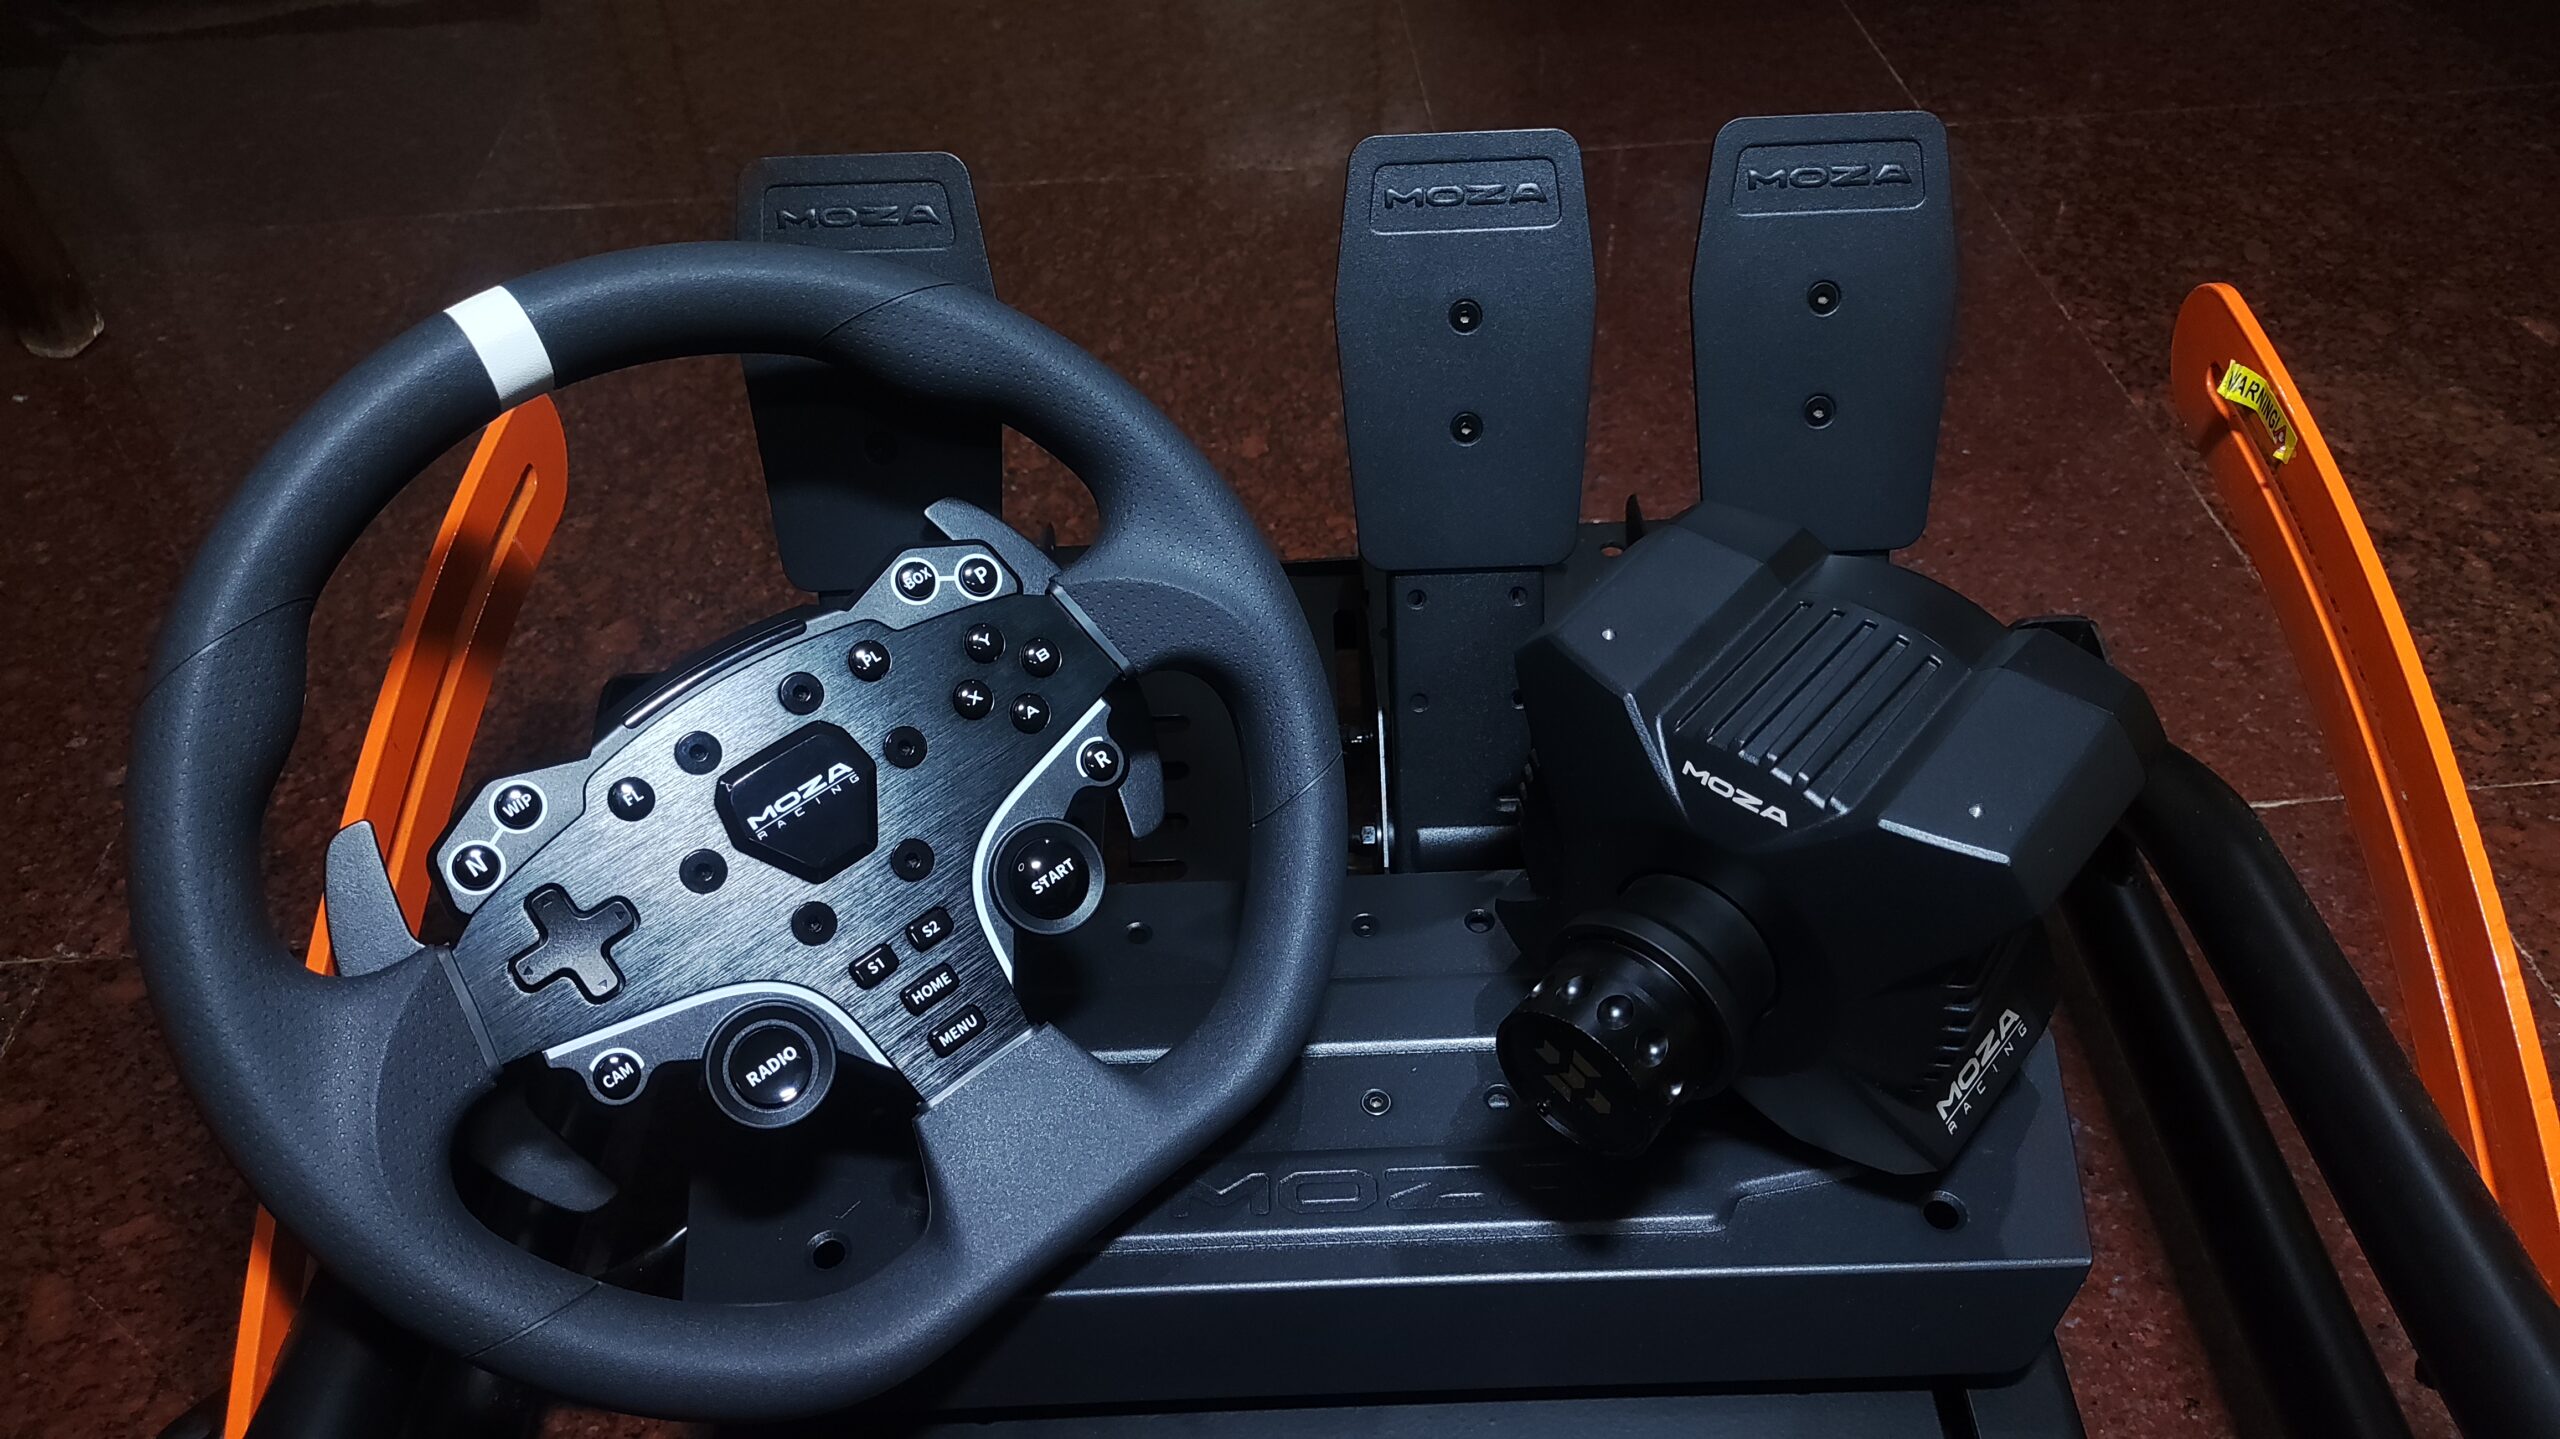
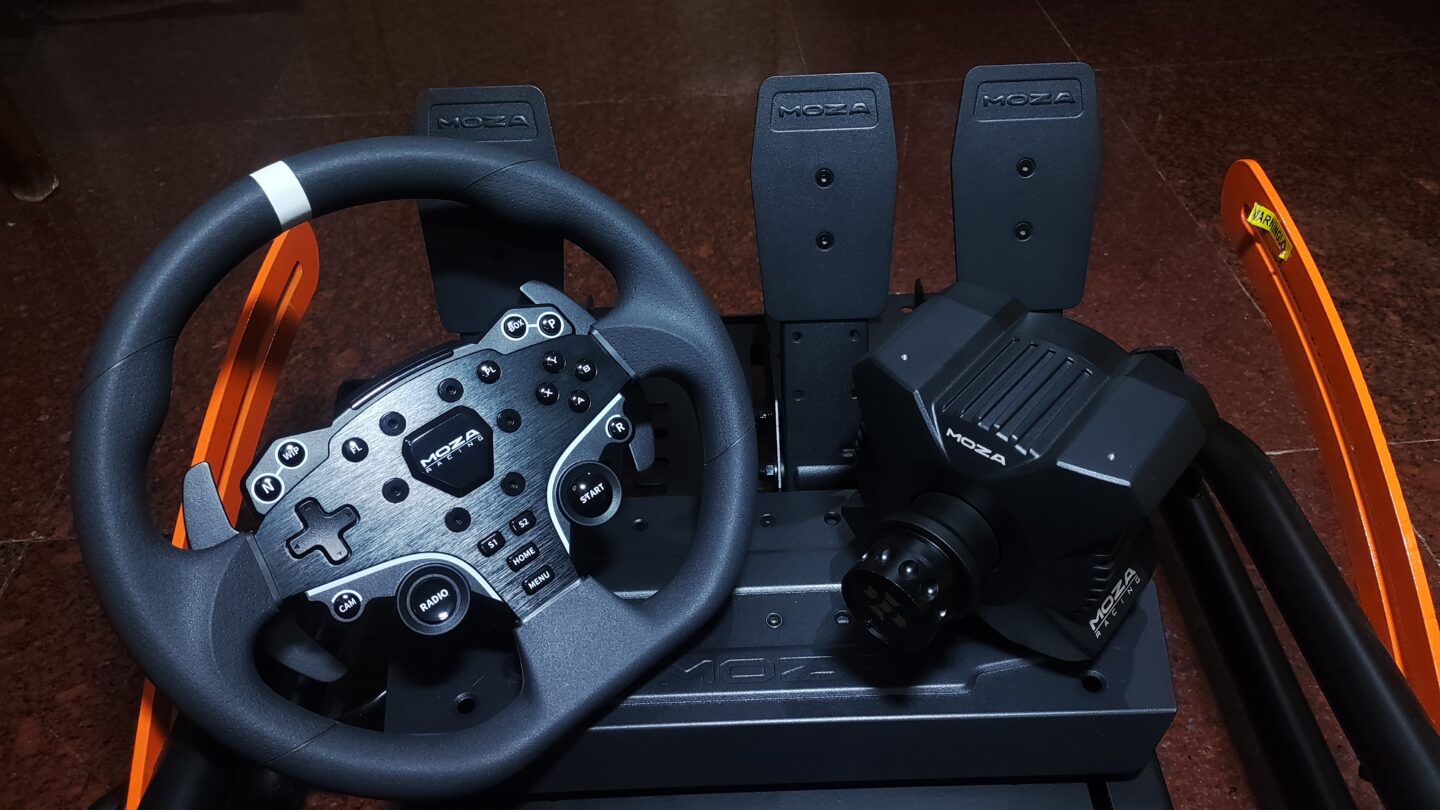
It pairs a compact 3.9 Nm direct drive wheelbase with the ES Lite steering wheel and SR-P Lite pedals, and it works with both Xbox and PC (depending on the version you get). On paper, that’s everything a new racer needs in one box, at a price that undercuts much of the entry-level competition.
The real questions are whether the force feedback lives up to the direct drive name, whether the included wheel and pedals hold up alongside the base, and whether the whole package is worthy of being my go-to recommendation for beginners, or is it all just a good-looking spec sheet.
We’ll get to all of that, but first impressions start before you plug anything in. So let’s open the box and see how it all arrives.
Packaging
The Moza R3 bundle packaging is quite large. This is because aside from the actual contents, there is ample padding and plastic wrapping on the inside to protect said contents from damage during shipment. Also, I received other accessories with it, but those came in separate boxes.
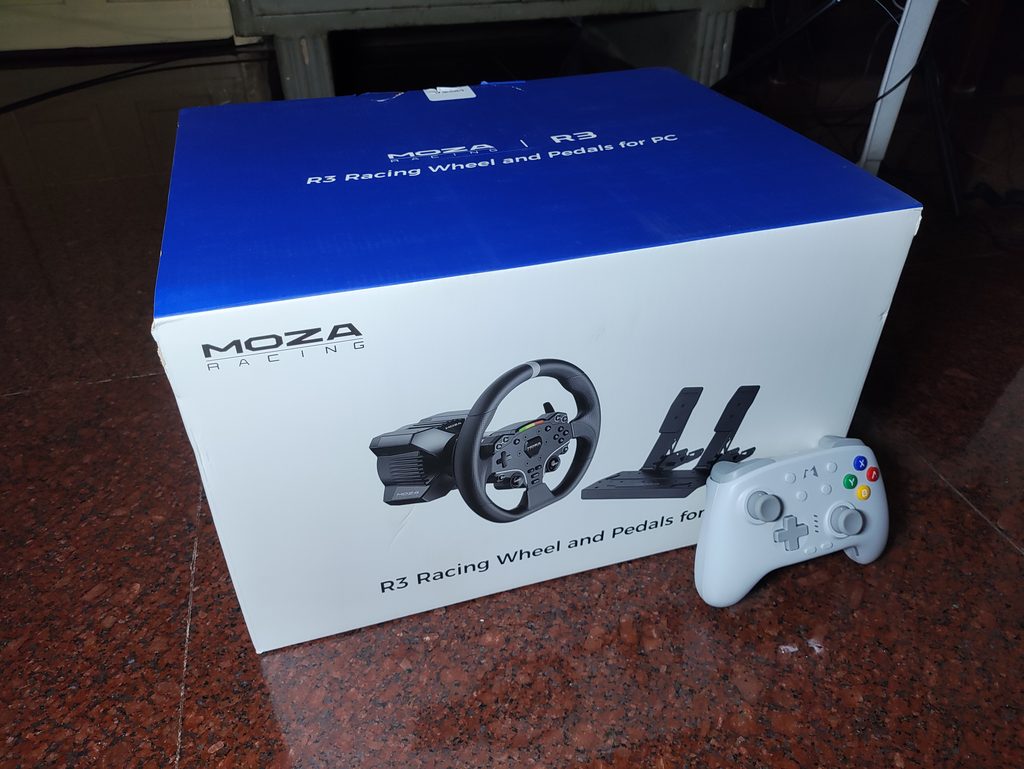
The R3 bundle itself comes in a single box which contains :
- The ES Lite wheel
- The R3 Wheel Base
- Table Clamp
- 2 Pedals (SR-P Lite) : 1 brake and 1 gas pedal
- Plate to screw the pedals into
- Mounting screws, Hex Keys and cables for everything
- Product manual, Warranty card
- Useful stickers to label stuff on the wheel
Aside from the R3 bundle, Moza also sent me the following, which are available to purchase separately:
- SR-P Lite Clutch pedal
- Performance Kit for the Brake
- Moza 12-inch Round Wheel Mod for ES Series
I first thought that they should have just included these in the bundle but after using them with the R3 bundle I can see why they didn’t include it in the base bundle. It would increase the price for a budget oriented bundle without offering much extra. I’d even go as far as saying that the accessories only add about 15-20% more fun to the R3 experience (mostly the clutch pedal tbh), and it comes with a couple of downsides even.
We’ll talk about the accessories later on. For now, I’ll focus on the default R3 bundle.
Specifications
Taken from Moza website and my own observations :
| Moza R3 Base | |
|---|---|
| Drive Type | Direct Drive |
| Max Wheel Rotation | Limitless (2700° limit in Moza Pit House software) |
| Housing Material | Aviation Aluminum Alloy |
| Color | Black |
| Peak Torque | 3.9 Nm |
| Rated Power | 60W |
| Input Voltage | 110V~220V AC —>12V DC |
| Encoder | 15 bit, Hall Effect |
| USB Refresh Rate | 1000Hz |
| App | Moza Pit House |
| Quick Release | Moza Quick Release |
| Connection Ports | Power, DC Input, USB, Pedals, Dashboard, Shifter, Handbrake, Emergency Stop (Proprietary connections) |
| Accessories | Manual and Warranty Card, Power Supply, Data Cable, Toolkit |
| Mounting Method | 4 Bottom Screws OR Table Clamp |
| ES Lite Steering Wheel | |
|---|---|
| Platform | PC Only (Xbox version available for higher price) |
| Grips | ISF PU |
| Face Plate Material | Aluminium Alloy |
| Shifter Paddle Material | Aluminium Alloy |
| Size | Diameter – 280mm (11 inches) |
| Buttons | 22 |
| Intelligent Telemetry | Supported |
| RPM LEDs | Fully Adjustable RPM LEDs through MOZA Pit House |
| Quick Release | MOZA Quick Release |
| SR-P Lite Pedals | |
|---|---|
| Material | High-strength Steel |
| Plate Material | High-strength Steel |
| Colour | Black |
| Throttle Sensor | Hall Sensor |
| Adjustments | Pedal Spacing, Pedal Plate Height, Pedal Input Adjustment, Pedal Input Reversal, Pedal Output Curve Adjustment |
Pricing
- R3 Bundle for PC – $299 (frequently on sale)
- R3 Bundle for Xbox & PC – $399 (frequently on sale)
- SR-P Lite Clutch – $42.90
- Brake Performance Kit – $29
- 12-inch Wheel Mod – $79 (frequently on sale)
Getting Started – the Setup before the Fun
Before you can start racing, you need to assemble the hardware and configure the software. I’ll go through the steps required for that in this section of the review.
Step 1 – The pedals
I recommend setting the pedals up first, since that’s where the most cable confusion can occur. The setup is fairly simple. You just use the correct screws to screw the pedals onto the included pedal plate. Screw them into the correct slots as shown in the manual. You can change the distance between the brake and throttle pedals by screwing it into farther or closer slots. I also got the SR-P Lite clutch pedal, so I had to mount three pedals into the plate. You can adjust the height of the pads and the spacing of the pedals easily during installation.
If you bought the Brake Performance Kit, installing it is a slightly more involved process than just screwing it into pre-designated slots. You will have to insert the metal shaft through the pedal arm and the upper assembly, then mount the unit in place. While you can use both simultaneously, I highly recommend removing the stock brake spring and using just the performance kit for the best brake feeling.
After assembling the pedals, you plug the throttle pedal (and the clutch pedal if you got one) into the clearly labelled RJ12 port on the base of the brake pedal. And voila! You have an assembled pedal. This whole pedal setup will be plugged into the back of the R3 wheelbase in the port labelled “pedals”.
The plate is prone to sliding on the ground if your floor is a hard surface. You can fix this by either putting the whole pedal assembly with its back against something like a desk or a solid immovable object. Or you could use a carpet or antiskid surface mat. In my experience, the solid object does a better job when you’re doing intense and quick actions while racing/drifting.
Step 1.5 – Mounting the Pedals onto a Wheel Stand or Rig
I won’t go into much detail here as it is quite easy to figure it out using the particular rig or wheel stand’s manual, but I’ll say one thing.
Sometimes you’ll be able to attach the individual pedals to your rig, but in my case, I had to attach the whole plate along with the pedals onto my wheel stand to use it properly. This had me scratching my head for a while so I figured I’d mention it here.
Step 2 – Install the R3 Wheel Base
The R3 wheel base can be installed in two manners depending on your setup. Firstly, this bundle comes with a desk clamp which makes for an easy, affordable setup. You simply screw the desk stand into the 4 holes under the wheel base, and then you can clamp the base to your desk. The clamp is quite sturdy, but if your desk isn’t sturdy you’ll lose out on some of the detailed feedback as vibration. I experienced this when I switched between my wheel stand and the desk mount. I’ll talk more about this later in the review.
What I recommend (but definitely isn’t a necessity) is that you get a wheel stand. Decent ones can be found for about $100, and much lower on the used market depending on where you are. If this pushes the wheel out of your budget, then no worries as a desk is still sufficient and gives a pleasant racing experience.
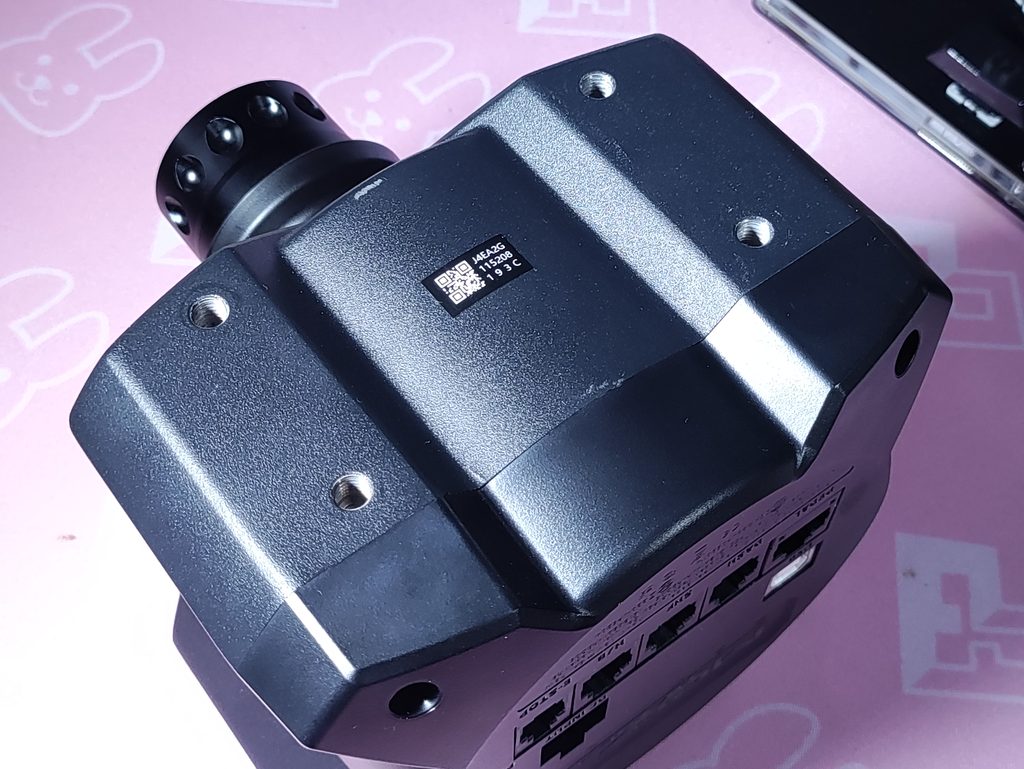
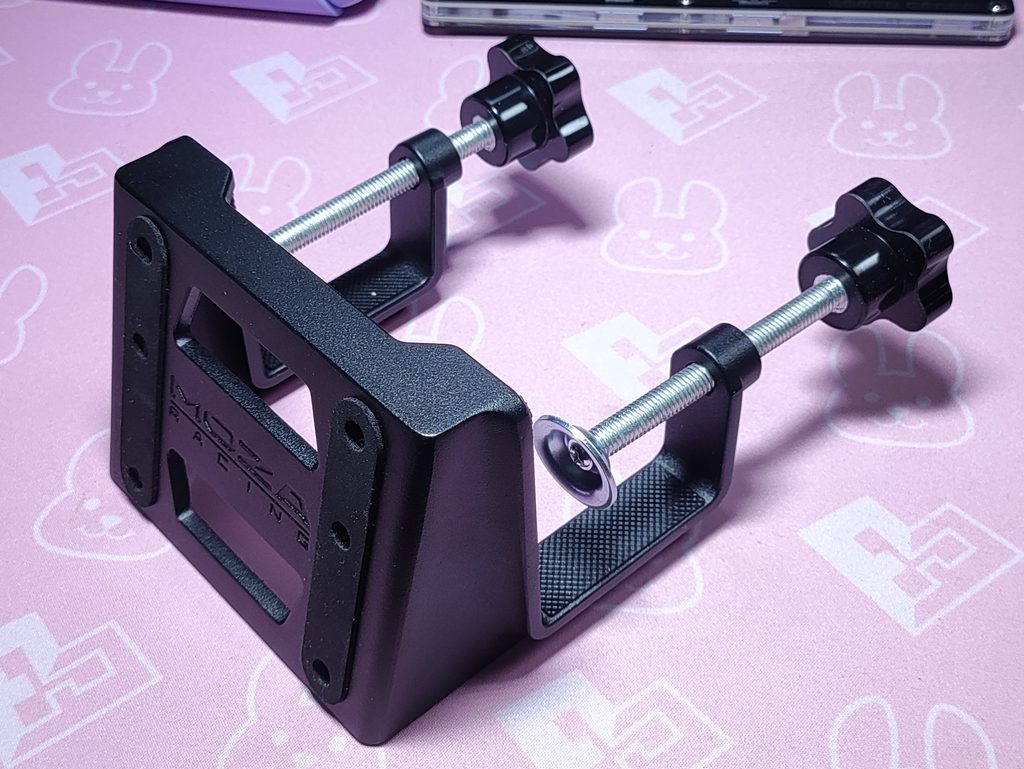
Speaking of wheel stands, the R3 can be mounted to wheel stands or sim rigs using the aforementioned 4 holes underneath the wheel base. This is how I’ve been using my R3 for the last two months.
Step 3 – Attach the Steering Wheel
Remember to peel the protective film off the quick release mechanism before you proceed. To put the wheel on the R3 wheel base, simply line up the dimples on the wheel and the base, and slide the wheel in perpendicularly. This might take more force than you would imagine, and when done properly will give a loud and satisfactory “CLINK” sound. You’ll know when it fits in.
Step 4 – Plug in all the cables
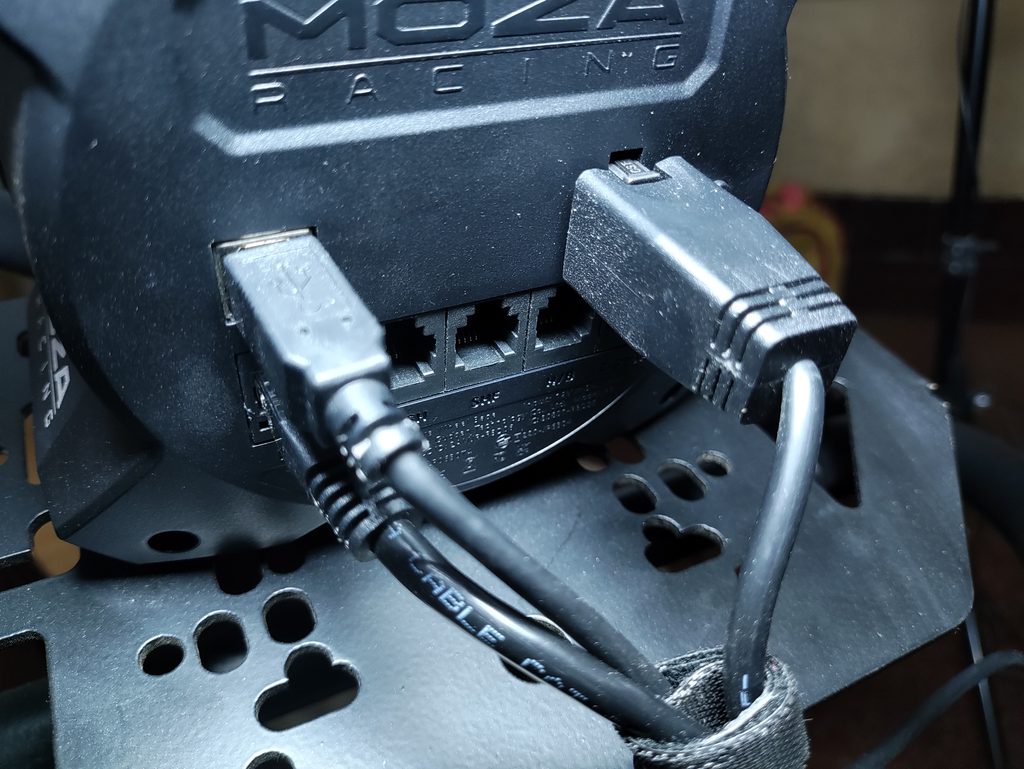
You’ll need to plug the USB cable into your PC. I plug mine into a USB hub since I also use other third party accessories like a shifter and a handbrake. You don’t have to do this if you’re using Moza’s ecosystem of products, as you would be able to plug everything into the back of the wheelbase.
Aside from this, you’ll also need to plug the power cable into a wall socket or an extension power strip. The other end goes into the wheel base of course.
Step 5 – Configure the wheel : Moza Pithouse Software
The wheel won’t work without the software installed. It also acts as the driver for the R3 wheelbase. After you install Moza Pithouse, the software will automatically detect the R3 wheel base, the ES Lite steering wheel, and the SR-P Lite pedals.
If this doesn’t work the first time (it didn’t detect the R3 in my case), a simple windows reboot and re-plugging the Wheel into the PC seemed to do the trick. Every subsequent time, there wasn’t any issues with detecting the R3.
Since the associated software is such a large part of the experience of a sim racing wheel, I’ll make it a whole separate topic.
Moza Pithouse Software
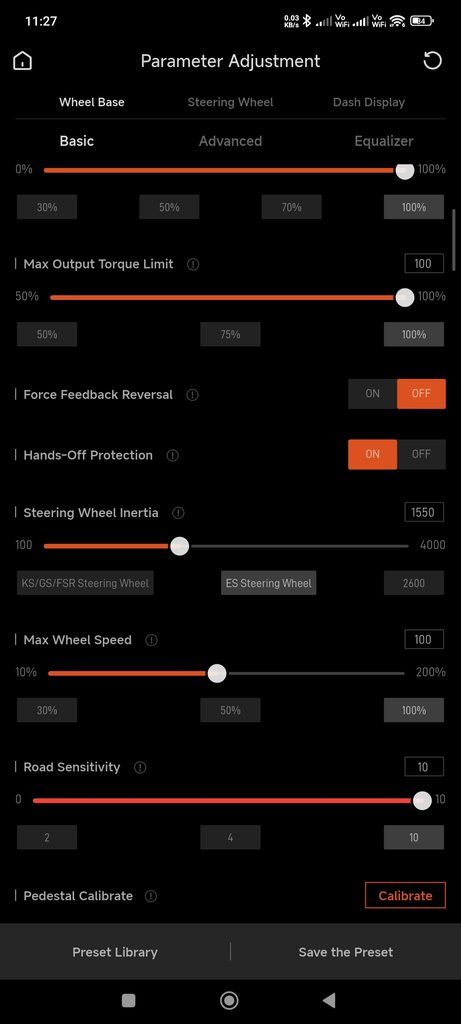
The Moza Pithouse software is pretty good. It doesn’t seem to have any major bugs and the UI is quite intuitive. My little brother, who is new to sim racing and even gaming in general, managed to figure it out quite quickly. And the amount of customisation available here is great. You can tweak the tiniest details, and there is support of community setups as well.
The one small hiccup I had was when updating the R3 wheelbase’s firmware. But it was resolved easily by following on-screen instructions within the Pithouse software itself.
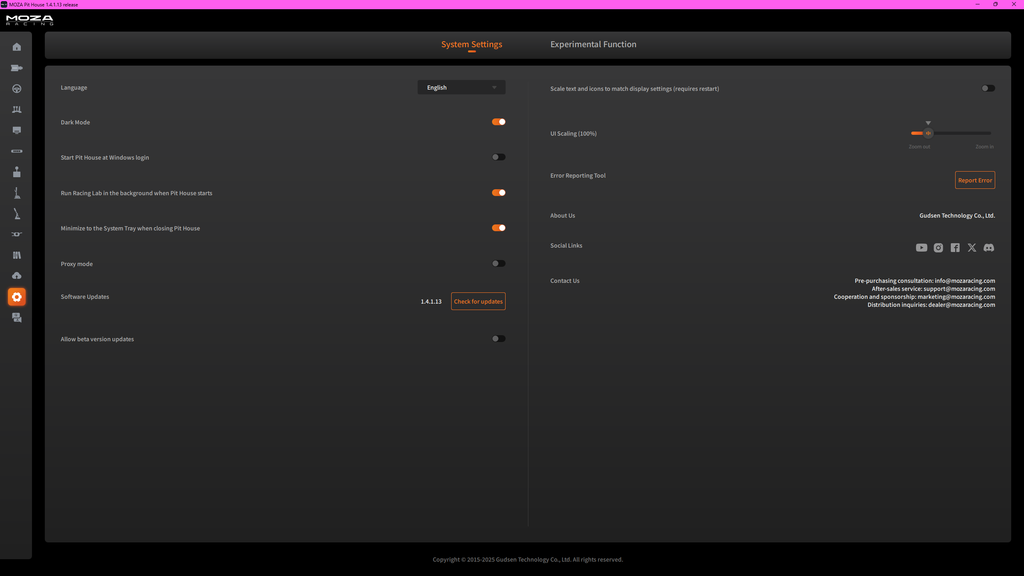
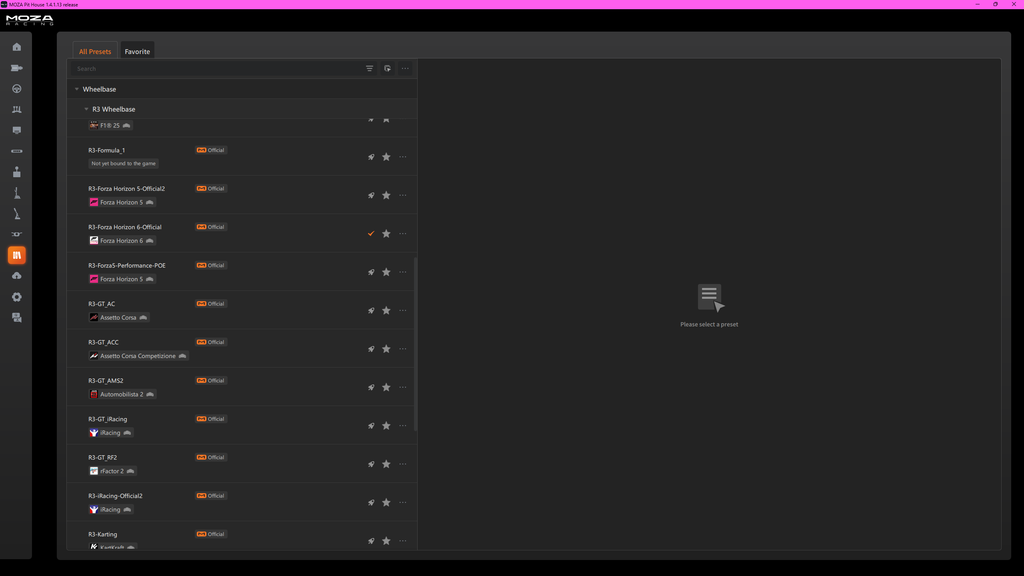
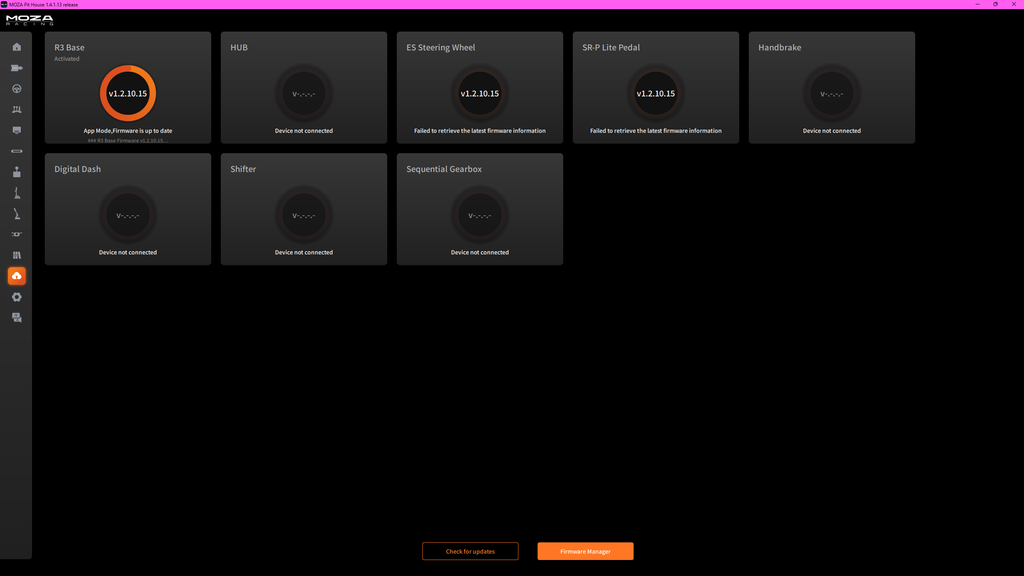
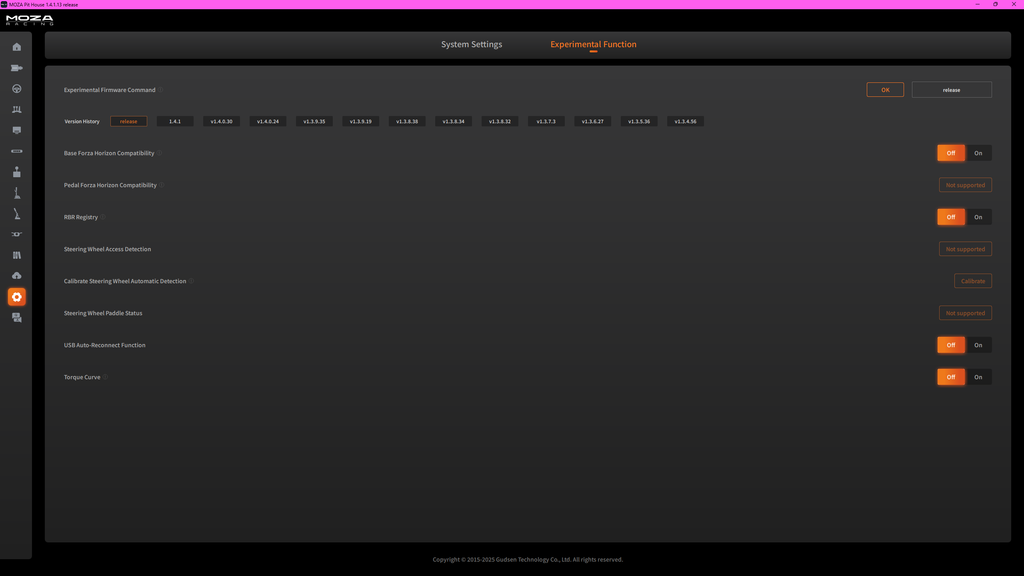
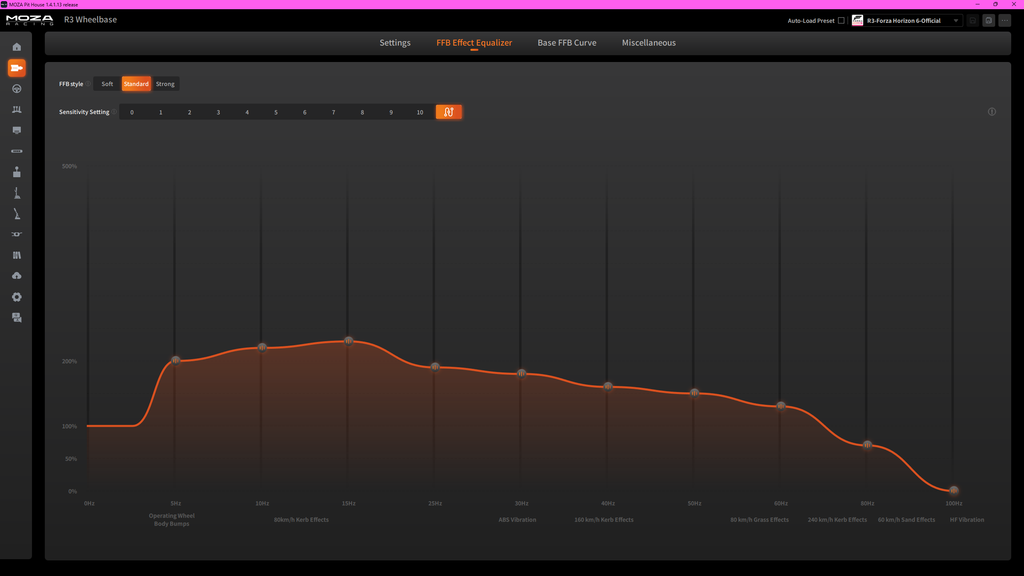
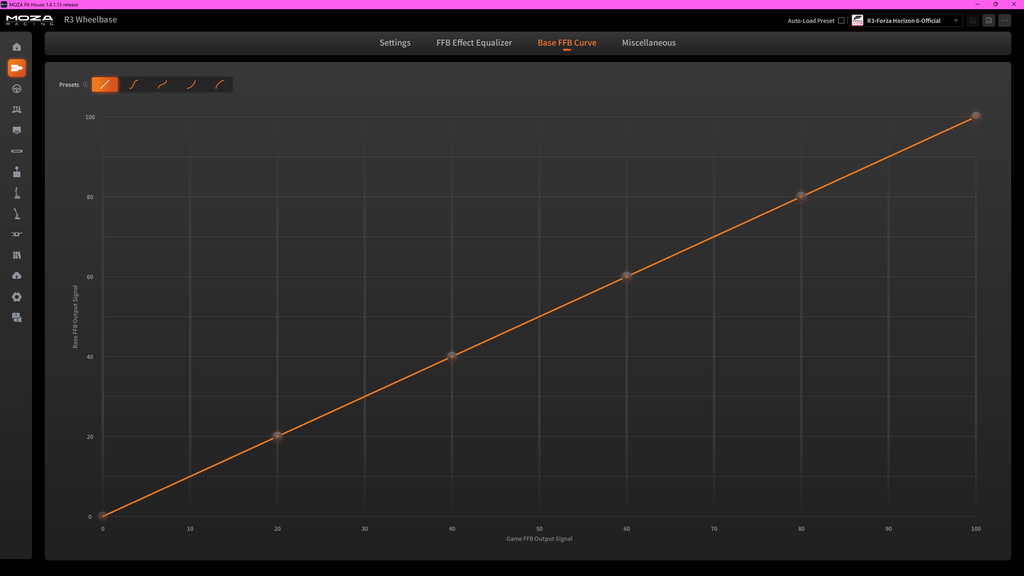
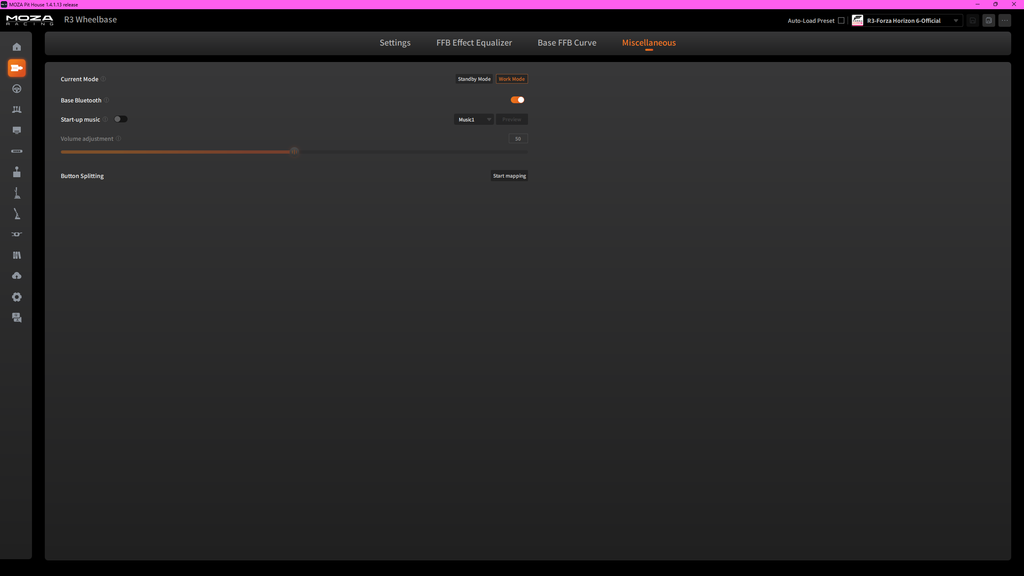
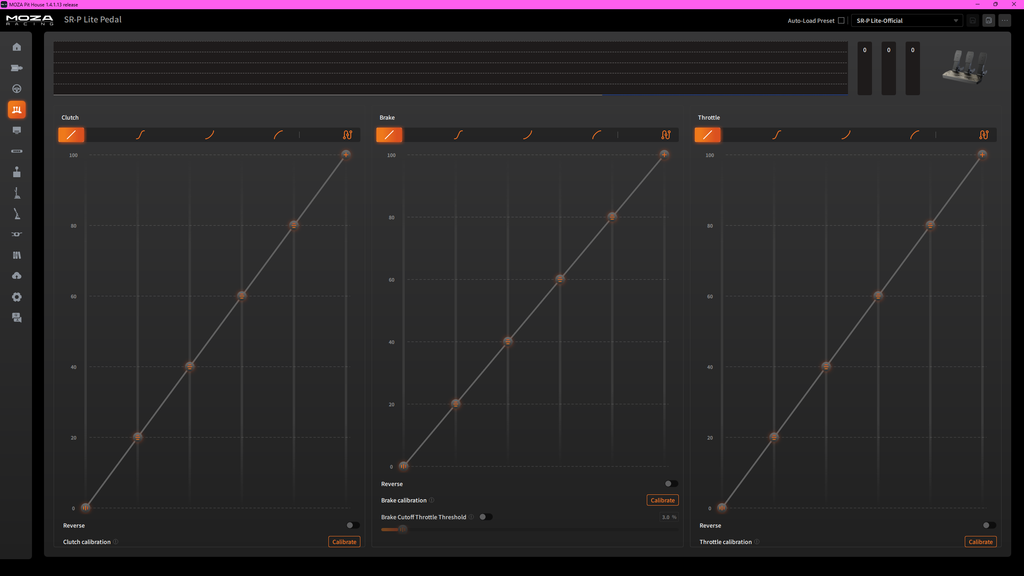
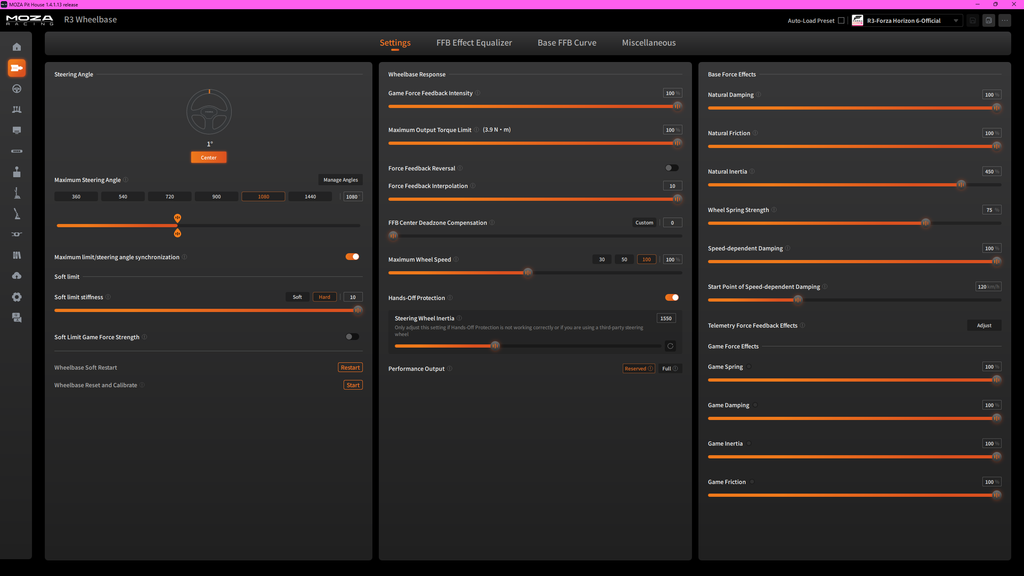
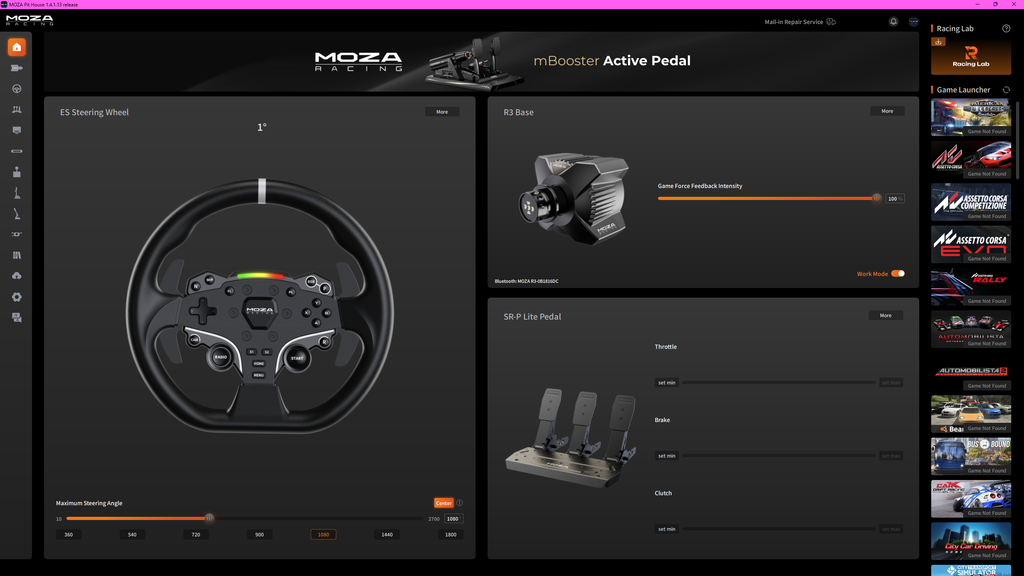
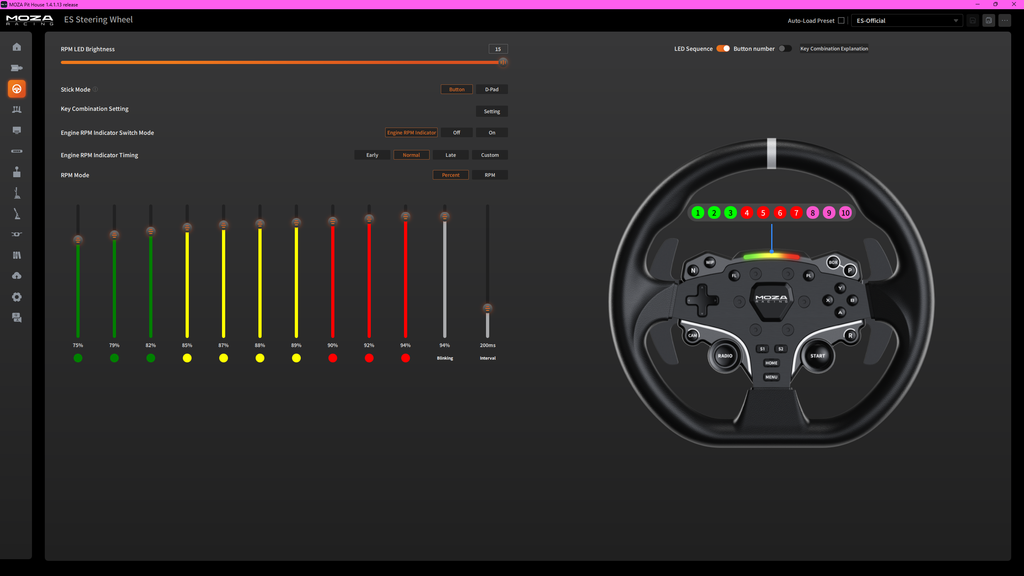
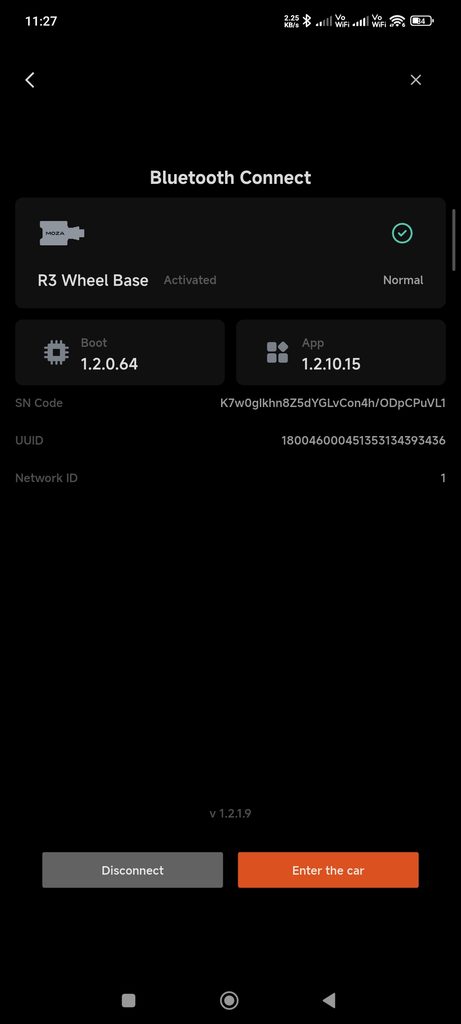
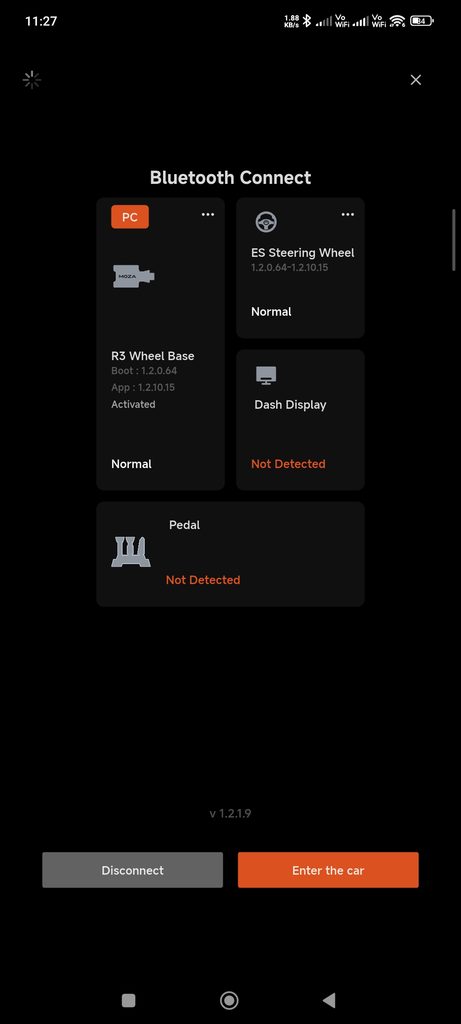
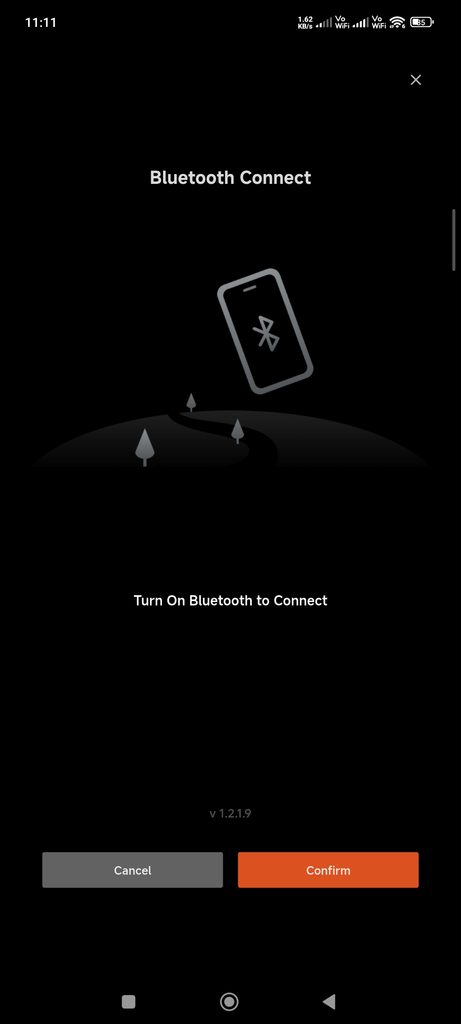
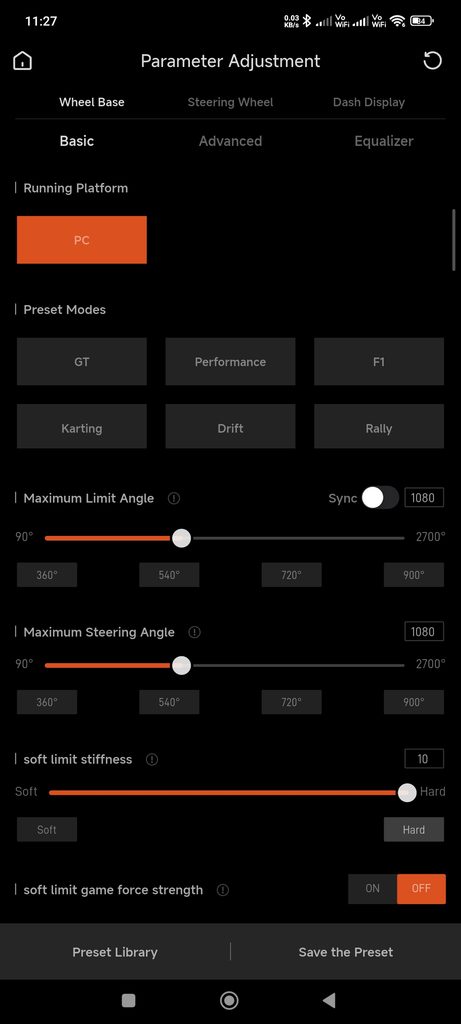
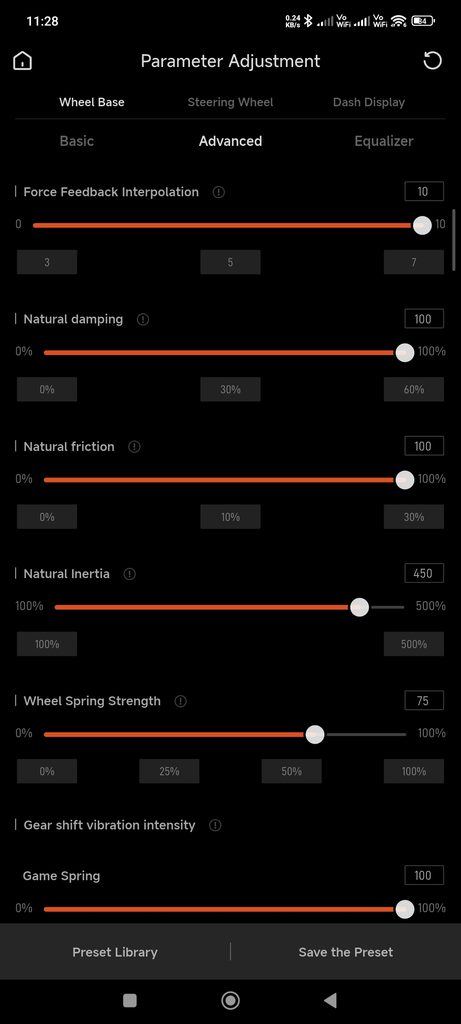
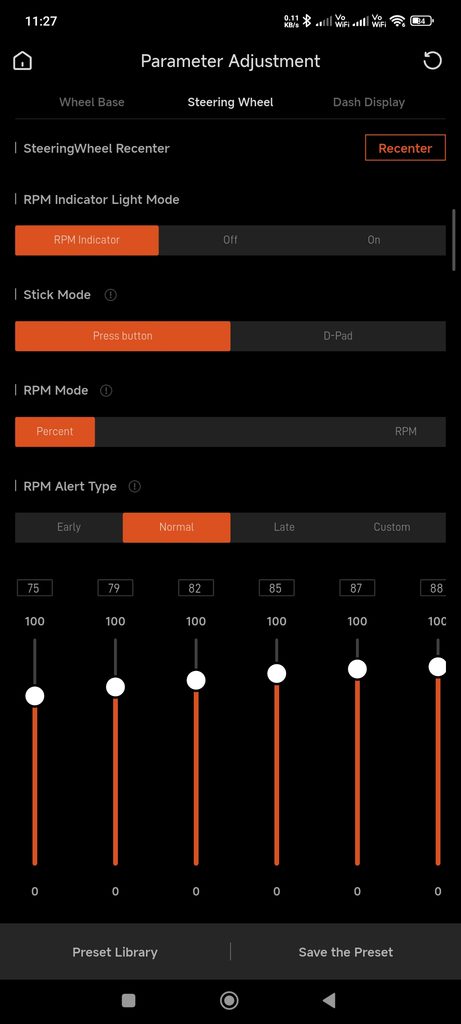
Moza’s mobile app, the Moza Racing App, also works well. You can change steering wheel settings “on the fly” using this app, but I haven’t really used it much aside from some initial testing as I prefer using the PC app. You will also have to create and sign into a Moza account to use the mobile app, which isn’t the case for the PC app.
The bluetooth pairing process felt a little finicky at first, but once it was set up, there didn’t seem to be any more issues in the subsequent connections.

Moza R3 Wheel Base
Build Quality
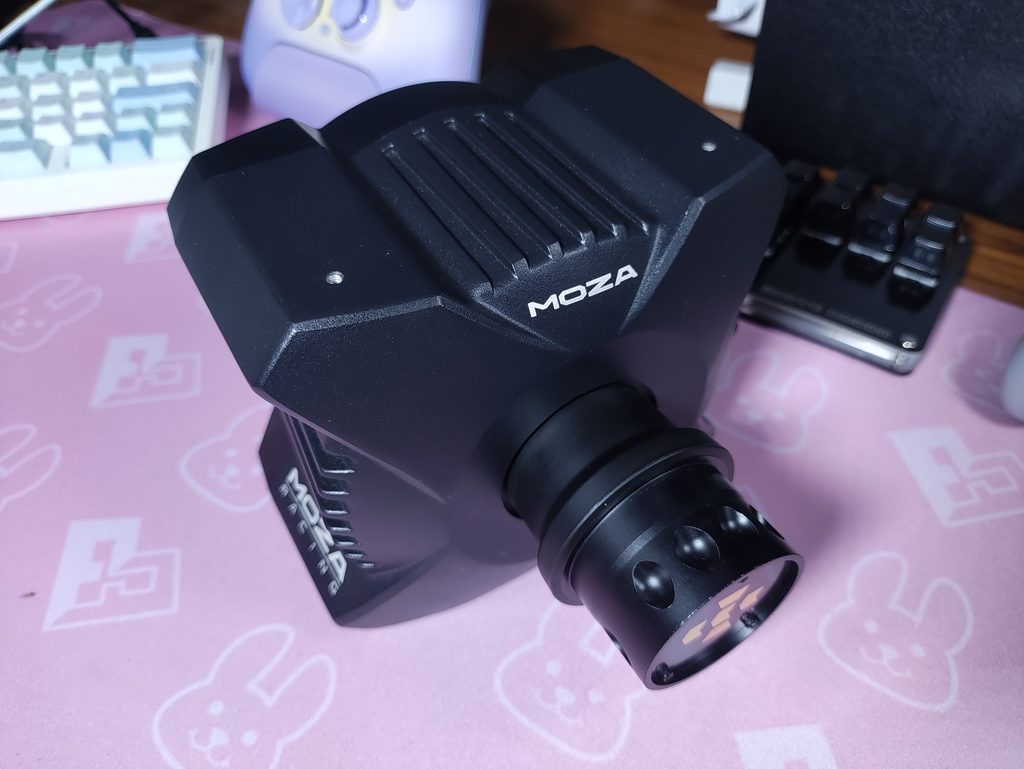
The R3 base is made entirely of aviation grade aluminium. This gives it a light(er) weight while maintaining excellent, sturdy build quality. It feels very solid and looks quite good. The R3 base follows Moza’s newer compact Direct Drive design rather than the massive wheel bases that you get from Belt-driven or Gear-driven wheel bases.
The cooling on this thing is impressive too. I’ve seen other bases get hot without active cooling but the system in place in the R3 base seems to work great. Granted it’s not the highest torque base, but still it’s a nice little noise-free experience. The force feedback strength does not diminish at all after long, intense racing sessions.
I really like the shape of this unit too. From the front and the back, it looks like a Classic Xbox “X”. The black colour is also quite nice and well implemented.
Force Feedback and Feel
Speaking of Force Feedback, the R3’s Direct Drive system is capable of outputting a constant 3.9Nm of torque. Contrary to popular opinion, I think this is good enough for casual use. It’s stronger than the torque I feel in my daily commute vehicle. Race cars have a lot more steering torque depending on the car and the race. So the 3.9Nm of torque that the R3 can put out is obviously not as strong as more expensive wheel bases with stronger torque.
But the feedback detail is there. And it’s great. This is due to the way Direct Drive works. The wheel is directly on the motor axis. Hence the feedback is quick, sharp and precise. This is a much nicer experience than gear driven wheels like the popular Logitech G29 or belt driven systems like the Thrustmaster T300. You can clearly feel many important changes such as :
- Tyre losing friction and beginning to slide
- Change in surface
- Wheel going over curbs gives a nice clear rumble
- and more
One thing to note is that while this 3.9Nm torque is a good experience with the R3 bundle, if you swap out the included ES Lite wheel for something with heavier construction and a larger diameter, the strength of the R3 will feel diminished. I experienced this to a small extent with the 12 inch wheel mod which I used along with R3.
Another thing to note – if your desk is thin or shaky, and the surface especially can be moved easily, you will lose out on a ton of detail. They will simply become “vibration” on your desk instead of being transmitted to your hands. This is just the universal truth for any wheel base, not specific to the Moza R3. So if this is the case with you (as it was with me), I strongly recommend buying a wheel stand. These are built very rigid; the wheel base mounting plate is short and well built, leading to excellent details coming through to your hands without any loss of feedback to vibration. I personally bought the Trone Steady Stand Pro for my setup, which is a local option available for me. You can probably get something like the budget friendly PXN A10 or the Next Level Racing Wheel Stand Lite 2.0.
Moza SR-P Lite Pedals
The SR-P Lite pedals are excellent. I’ve used the Logitech G29 and Thrustmaster T248’s pedals, and the SR-P Lite from Moza feels much nicer to me.
Design
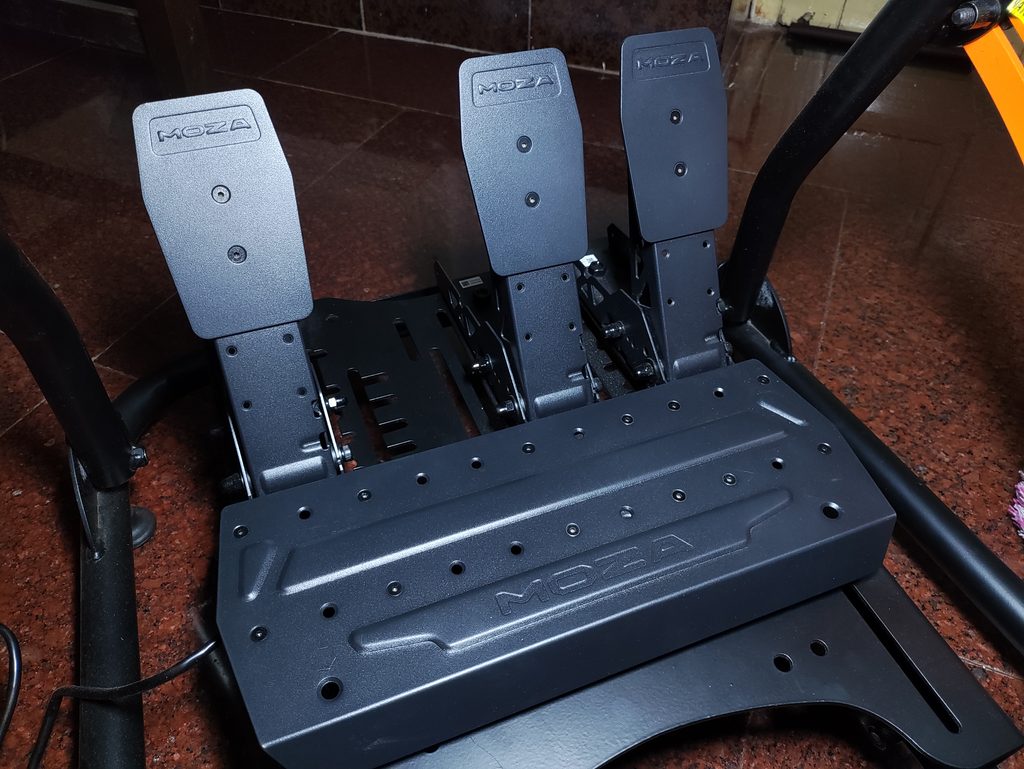
The pedals are built entirely of steel. This gives them excellent build quality and foot feel when pressing them down. They’re very stable. The angle and force needed to press them down is quite comfortable. You can also adjust these variables during the setup. The pedal faces are wide enough that I can use them comfortably even with my giant UK size 13.5 feet.
The sensors in these pedals are hall effect, and they can be calibrated using the Moza Pithouse software easily. This essentially mitigates the sensor drift issue that I’ve seen in other pedals (which need to have deadzones to mitigate the issue) The SR-P Lite pedals also have some deadzone, but they’re small enough to not really affect gameplay. In fact, it makes it kinda comfortable to place your feet on them without being worried about your engine starting to rev.
The R3 bundle by default comes with just two pedals – the throttle and brake pedals. You can separately purchase the clutch pedal.
Performance
The brake and throttle pedals have a different feel to each other. The brake pedal has a stiffer spring that takes more force to put down all the way than the throttle pedal. The (additionally purchasable) clutch and throttle pedal have the same spring strength and are lighter than the brake pedal. Overall, this feels quite good.
Do note that since these aren’t load cell or active pedals, they don’t have a “bite point” that you would feel in a real car’s clutch. In my opinion, this doesn’t take away much from the driving experience, and for someone’s first pedal kit, it’s more than sufficient. And the good thing is that you can always upgrade the pedals later.
Moza ES Lite Steering Wheel
The steering wheel is quite nice. The central button hub has 22 buttons and two shifter paddles on the back. All the buttons (aside from the shifter paddles at the back) are membrane buttons. They don’t feel mushy or anything, but more like standard controller buttons. The large “start” and “radio” buttons feel different, probably due to their larger size. There is an LED strip at the front that indicates the RPM if you configure it to do so in the Moza Pithouse Software.
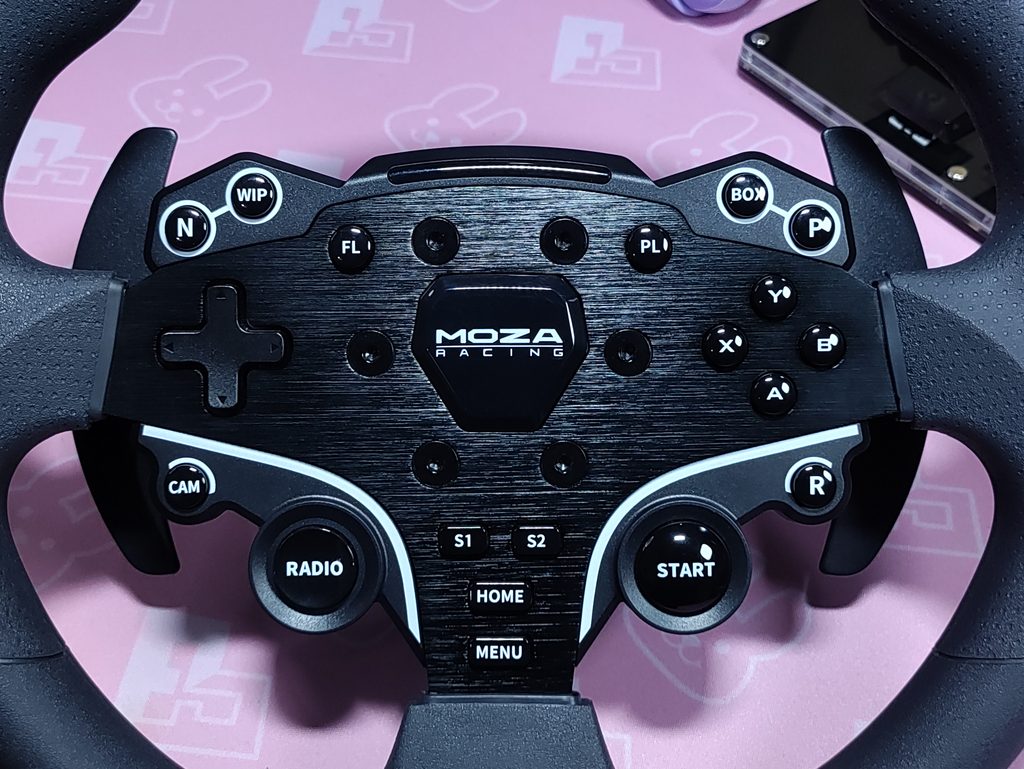
The paddles are well built. They’re mechanical clicky switches and the paddle body is made of metal. It feels great to use, but there is a little bit of pre-travel that almost feels mushy. I still like it, as you get used to the feel quite quickly. And I think the pre-travel actually prevents accidental shifts. What I don’t like is how obnoxiously loud these paddles are. I can even hear them through my headphones sometimes.
The 280mm (11″) wheel rim is where you can feel the sub $300 price tag of the Moza R3. The centre is made of aluminium, but the exterior is made of ISF polyurethane. It’s supposed to have a skin-like feel but in reality it feels somewhat “fake” and plasticky. The grip it provides is good enough though, and it doesn’t cause sweating or anything dramatic like that. You can counter the cheap material feeling by putting on some nice racing gloves, but it’s not that bad tbh. It doesn’t break your immersion while you’re racing. It just feels a tad less premium than everything else that we’ve seen so far. Another benefit is that you don’t have to care about cleaning and maintaining it as much as some other wheels.
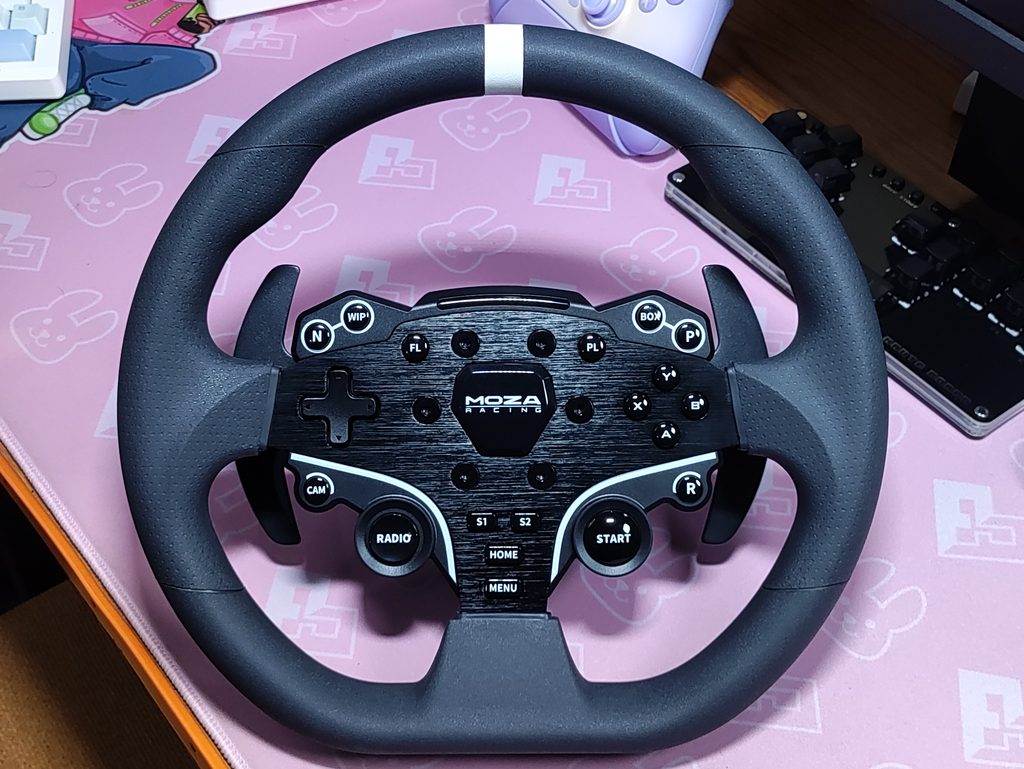
There’s a reason for this choice though. If you use a large, heavy wheel with a wheelbase that has low torque like the R3, you will be disappointed. The small diameter and lighter materials actually make the torque of the 3.9Nm R3 feel a lot better and stronger than when I used a larger, heavier wheel with it.
In the end though, I went with the 12″ wheel mod instead of the stock 11″ wheel because I have really wide shoulders and I drift a lot. The GT style ES Lite wheel is great for circuits or races, but I prefer a fully circular wheel for drifting. The 12″ wheel mod does noticeably reduce the perceived force feedback, but that’s worth it IMO for the benefits it offers to me. You might not even need this mod if you don’t have wide-set shoulders and large hands like I do. It’ll set you back an extra $80.
On the back, you can see the Moza Quick Release mechanism. It’s quite handy and works well. I won’t go into detail about this mechanism in this review, and you can refer to the video embedded above for the method.
CONCLUSION
After about two months with the Moza R3 bundle, I can say it lives up to the direct drive name. The 3.9 Nm of torque is modest, but the detail is excellent. You feel the tyres of your car losing grip, the surface under them changing, and the rumble when going over curbs. The SR-P Lite pedals are more than sufficient, Pit House is intuitive and deep for a budget bundle, and the ES Lite wheel is good enough for the money, even if the rim feels a bit plasticky.
Two things to keep in mind. A flimsy desk will turn a lot of that detail into vibration, so budget for a wheel stand if you can. And I’d skip the extras at first, since they add only a little bit of fun.
Pros
Why I recommend this product
- Real direct drive detail that beats gear and belt-driven wheels
- Sturdy, compact aluminium wheelbase
- Quiet cooling, with no loss of force feedback in long sessions
- Steel hall-effect pedals that feel great
- Intuitive, highly customisable Pit House software, plus a handy mobile app
- Complete bundle at a budget price, with a desk clamp included
- 22 buttons, metal paddles and adjustable RPM LEDs on the wheel
- Mounts easily to a desk or a wheel stand/rig
- Good accessory support and a clear upgrade path
Cons
Why you might consider spending more for an upgrade
- The PU wheel rim feels a bit cheap and plasticky
- Paddles are very loud, even audible through headphones
- 3.9 Nm feels weaker with larger, heavier wheels
- Xbox support costs $100 extra
- The pedal plate slides on hard floors
- No clutch pedal in the bundle
Would I recommend the Moza R3 for beginners? Yes. At $299 for the PC version (often on sale), or $399 with Xbox support, it’s an easy introduction to high quality, direct drive sim racing.
Moza R3 Bundle


Hello! 🥰 I'm Fang.
I like gaming and related tech. I enjoy learning more, and sharing my experiences through my review videos and blog posts. Have fun! 💖